Sunday, October 28, 2012

Daily 5 - Pocket Chart Work

Pocket charts are a useful way to display information but can also be used to manipulate materials. Word Work matching and sorting is one option for using small pocket charts and cards, sentence strips, and game pieces.


Learning Targets

We focus on daily learning targets in our classroom. I have a notebook file with a slide for each day (we are on a Day 1-6 schedule with specials) that I modify and display at the start, middle, and end of each day.
Each slide lists the day's number for scheduling purposes and then "Today I will learn to:" with a motivational quote that my Kindergartners also learn and memorize. Examples are: "Focus and win," "You make the world a better place by making yourself a better person," and "The things that make me different are the things that make me, me." And so on.
I also put a quick note of how they will show me their learning. I use language appropriate for Kindergartners and check back in to see if we've accomplished our goals. It's great! And it doesn't take up any extra wallspace.

Daily 5 - Alphabags

 There are so many awesome ways to utilize Daily 5 literacy instruction, by Gail Boushey and Joan Moser: http://www.the2sisters.com/the_daily_5.html. Daily 5 results are fantastic! But I found that I had so many different things to manage, so I had to problem solve the organization of this great program.
I created these Alphabags which are labeled with each student's number. In each bag is their Work-on-Writing Journal, their Write-the-Room book, and Word Work alphabet book. I also have them keep their phonics chart in the bag. This is a great storage solution for my classroom! I used removable plastic hooks: http://www.command.com/wps/portal/3M/en_US/NACommand/Command/Products/Catalog/  and taught the procedure for how to hang-up and take down the alphabags through Interactive Modeling, by Responsive Classroom.
I still have the children use their own individual book bins, but that bin is specifically for Read-to-Self and Read-to-Someone.
This has really been working well this year. The children enjoy the handling of the materials and take pride in doing it well. They love making choices in their own literacy education and I enjoy the easy management of Daily 5 time.

Conferences - Slideshow


Conferences can be overwhelming for everyone involved. I have started running a slideshow on my SMARTboard during conferences with our classroom pictures and light music. At our school, children sign a release for classroom pictures. I use the pictures to update my annual learning goal progress and to keep observational records of activities and events. I use pictures and video clips to share with my principal cool events or activities they may have missed while observing other classrooms. These same pictures and clips are great to display to parents during conferences! It's a great backdrop for shared enthusiasm for the children and their development. Sometimes, the conversation has nothing to do with the slideshow. Sometimes a parent might mention that it was cool to see what they were doing. Sometimes we stop to talk about something they noticed. No matter what the involvement, I have enjoyed using this tool during conferences.

Brain Break Sticks

 Brain Break Sticks are a great way to get kids up and moving for brief amounts of time. Kindergartners need these little breaks during a busy day! I found these fun popsicle sticks at www.lakeshorelearning.com and used a clear craft bucket with a ribbon for some flair.

Each stick has a label: Chant, Activity, Transition, Song.

At the bottom is the description of the brain break. Some of the physical activities include jumping jacks, planks, cross-body knee touches, etc. Chants include silly rhymes and songs while waiting in the hallway or during transitions like Silly Willy, 5 Green and Speckled Frogs, etc. Other activities include creating a class rainstorm, counting to a number, throwing pretend pizza dough, or playing an air band instrument.

Kids love these little activities and it helps them regroup during the day. I recommend making your own sticks with activities that you are comfortable managing in your classroom. For some fun activities, check out http://www.responsiveclassroom.org/product/99-activities-and-greetings .
 

Sunday, September 2, 2012

Open House

Open House is our Kindergarten Orientation. We greet families and meet the children who will be our students for the year. It is also a time to take care of business and accomplish a few things.


 I create a "Take-Home Folder" for each child with the following labels: "To be LEFT at home." and "Bring it RIGHT back!" This helps busy families go through papers and assists with left vs. right skill building. I get these ready for each family and child before open house, with school papers and documents, my welcome packet, and favors. This year for my "bright" theme, I gave out glow sticks with the tag "We're going to have a bright year!"
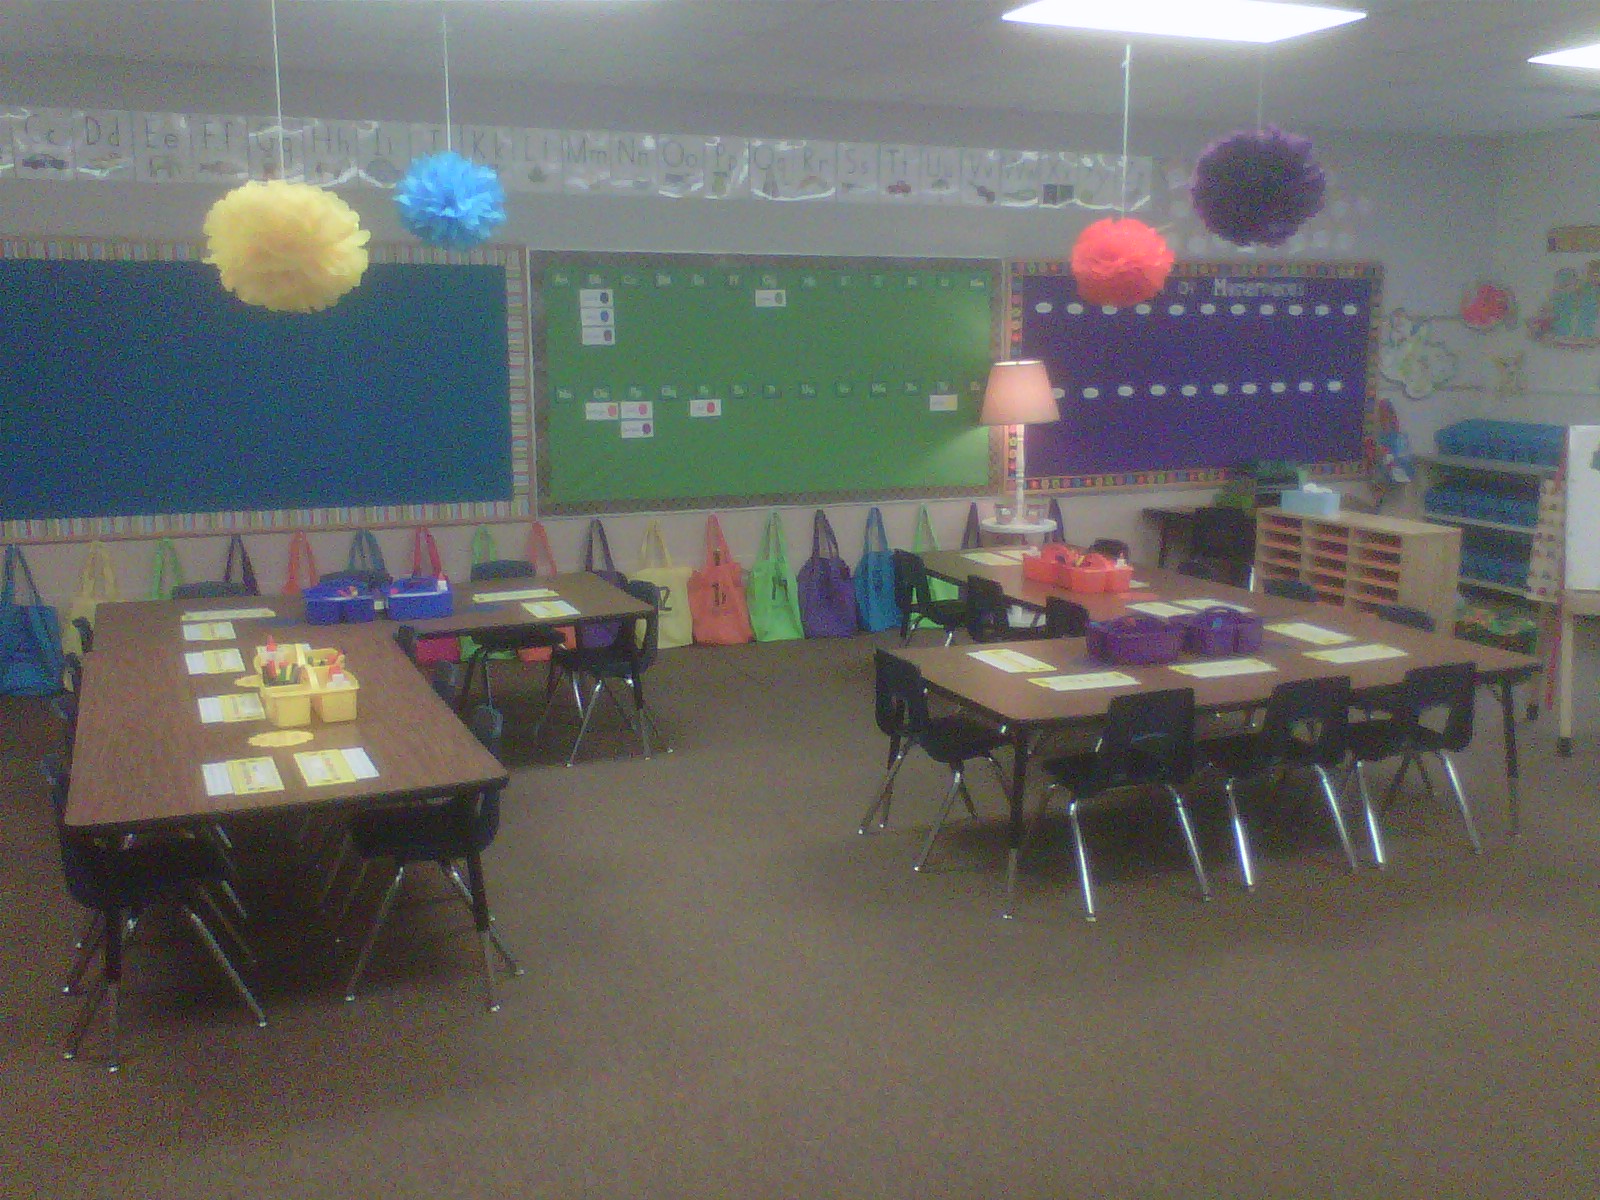
Children also learn their class number and find their line order spot. (These are laminated stars with Velcro sticking them to the carpet.)


 This summer, I created Open House labels based on the checklist I have for families and students to complete together while they're here.
 
This is the set of labels I created:                         
 1. How is your child going home?
 2. Mark all of your supplies with your name.
 3. Stack tissues here.
 4. Take this home and create a page about yourself.
 5. Any extra supplies go in the baggie with your name.
 6. Sign up for conferences.
 7. Can you find your spot in line?
 8. Instructions for pencil box supplies.
 9. Put your folders in here.
 10. Where is your spot at the circle?
 11. Place your markers here.
 12. Wet wipes go here.
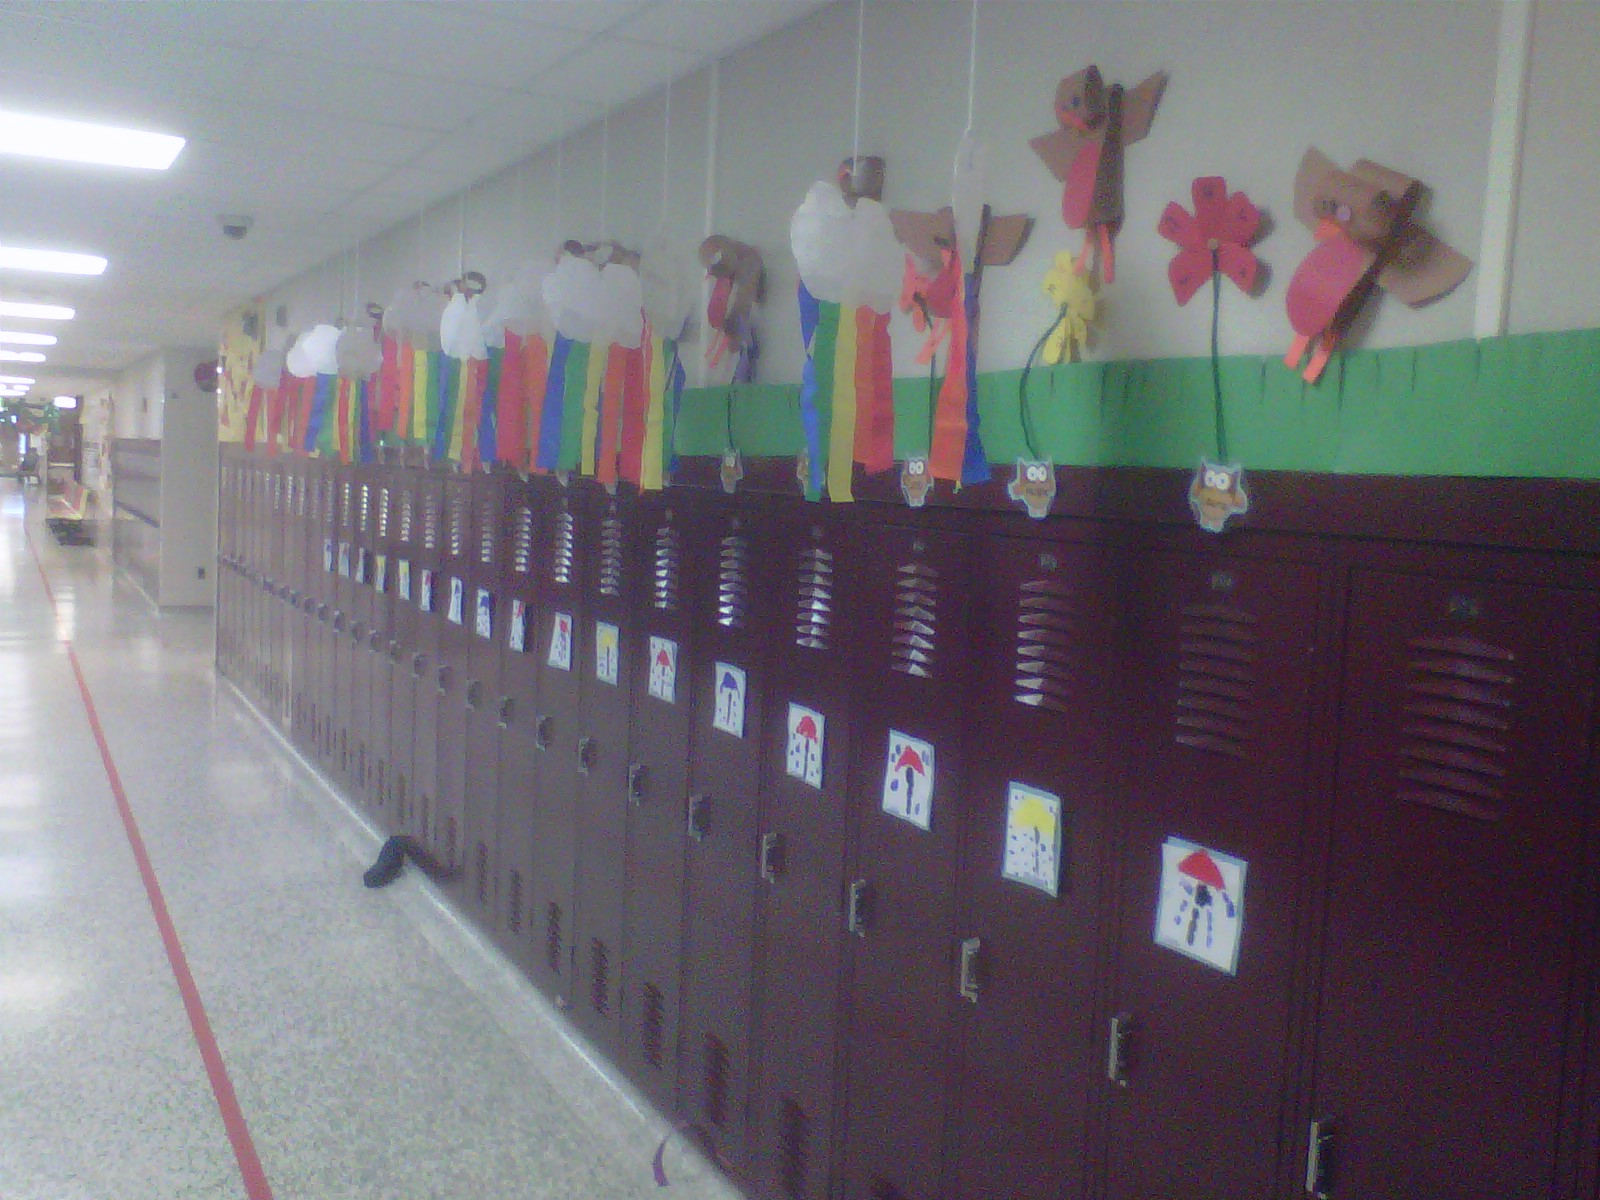
First students grab a checklist with their parents and try out their locker doors.
Then students put on a name tag and parents get some paperwork.
 Families also take home their first project for the year. These papers are scrapbook pages to be displayed on the "Masterpieces" art wall and then put into a class book. It's a great way to get to know one another. 
Here is my example!


At our school, we also have families sign up for conferences. They pick a time for both dates in the fall and winter and then write them down on a slip of paper. I also do reminder calls in addition to reminder notes. They are very well received!


 I keep markers, scissors, gluesticks, and glue bottles separate from our pencil boxes. We use them as community supples in bins that are color coordinated to match the tables. (Orange bin for the orange table, etc.) It's much easier to have families unpack supplies in an organized fashion that saves me time later. They follow the instructions and the community supplies are in bins together and the pencil boxes contain a box of crayons, a highlighter, pencils, and an eraser. Perfect!
Responding to a message is also a job for Open House. I love to see their faces afterwards!
 By far, my favorite part of Open House is meeting my kiddos. I talk to each child as they arrive at the door and as they leave with their families. (I also help when I can with the supply sorting.) The last item on the checklist is to tell Miss Smith one thing you like about Kindergarten already. This is a great clue as to what the students look forward to, enjoy, and feel. There was a sweetie this year who said, "I like you!"

Using Space Wisely...

With our bulletin boards on one side of the room and the SMARTboards on the other, many teachers elect to have one large circle space and another smaller space by the bulletin boards for calendar time. I thought long and hard about how to combine the spaces to make better use of my room. I chose to adhere cork squares to the back of this very sturdy cubby shelf (made by our carpenter custodian who is amazing!). By turning the shelf sideways, I create an entryway into the classroom and also a surface perfectly suited calendar time. Hooray!

Refinished Lamp

I'm really proud of my refinished lamp! This old thing was in our basement family room, just waiting to be better used. It was a dark stained wooden floor lamp with the tan lamp shade. I painted it white and hot-glued white and pearl buttons to the shade. Cute!

Displaying Student Artwork

Sharing student work is a great way to create a sense of belonging and share accomplishments in the classroom. This board is purple fabric with a decorative border, white swiss-dot letters and labels.
A cricut is a perfect tool to quickly produce inexpensive lettering. I used the white swiss-dot textured paper with the hopes that it would pop on the purple paper.
The labels are secured with white tacks so they can be moved to accomodate different sizes of artwork.
http://www.cricut.com/

Classroom 2012-2013


Welcome to my classroom! I'm very pleased with the way my room turned out. I organize and manage the tables by color, so you'll see the yellow table, blue table, orange table, and purple table. These colors make up the bright scheme. The bulletin boards are covered in cloth and from left to right are for "Hopes and Dreams," the word wall, and a student work display. I have 20 students and two tables situated to seat two adults for intervention/center time.


My classroom this year includes a writing center, class library, block area, art center, and dramatic play. I also have a sensory table masquerading as a side table under the whiteboard until I need it.

I'm excited to share this room with little people! Cheers to another great year!

Alicia

Tuesday, August 21, 2012

Organizing the Classroom Library

Most of us have quite a few books in our classroom libraries! We collect and hoard paperbacks and old hardbacks and buy our favorites when we can. I personally started this collecting in college, which resulted in tote bins of children's books that sat unread for a few years. But now my students each have their own book bin and browsing rights in my class library. It's awesome! I had such wonderful readers thanks to Daily 5 and our literacy curriculum. But at the end of the year, my library was a mess. It took me a long time to go through all of the books. I devised a system for cataloging that is Kindergarten friendly.
I found these: http://www.reallygoodstuff.com/product/book+basket+label+set.do and used sticker dots and a permanent marker.
For science books, I used a green dot and drew the outline of a leaf. I marked that bin and every book that goes in it with a dot. Above, you see a collection of "Story Box" books from old curriculum. I used red dots with a square to mark all of these.
I plan to take some time to teach through interactive modeling, a Responsive Classroom core practice http://www.originsonline.org/responsive-classroom/about-approach/core-practices , and really make sure this cataloging system is put to use. I purposely put the dots on the front of each book to make it easy! If you're worried about aesthetics, you can put the sticker around the binding or on the back. I just wanted it to be easy.


Friday, August 17, 2012

Getting Ready 2012-2013

 This year I'm going with a "bright" theme. These little light bulbs are made with metallic, glitter, and shimmer scrap booking paper with googly eyes. I made all different sizes and glued them together. Then I used a fine permanent marker to draw the little wires inside the bulbs and the lines across the bottom part that screws into a socket (is there a name for that part?). I wanted to do something different! Last year I thought owls were really original...and then they ended up everywhere. So I'm betting that light bulbs aren't the next big trend. But I could be very wrong!
Even though I consider this "door decor," it's actually the window beside the door into the hallway. They are supposed to be covered for safety reasons, so why not do the decorating there? I don't mind a mostly bare door...if I have one thing that isn't covered in something it's actually quite an accomplishment! If you look back at my door decor from last year, I used the labels next to the owls as seasonal changes: leaves, snowflakes, raindrops, flowers. This year I hope to give the light bulbs hats: witches hats, Santa hats, leprechaun hats... and then leave the names or just change the colors. I do have quite a few seasonal/holiday borders, but I usually don't take the time to switch them out. We'll see about this year! I might try to get everything made and set it aside for when I need it. When I do things ahead of time like that, it really rocks.

The End of My Second Year

It was the first thing I put up and the last thing that I took down: my "Welcome to Kindergarten" sign. My mom came and helped me pack everything up because I shifted two rooms down the hallway (more bulletin boards!) and I'm so glad she could help. My mom teaches beginning band (bless her) and she kept saying, "You have so much stuff! You have so much stuff!" Well, yes. I do.
There it is!
You'd never guess that it all could be arranged neatly and organized in cupboards. It took a full day of hard work to get everything packed up. I did take her out to lunch! We really had fun. So that's what I started with for the 2012-2013 school year. And it's already coming together swimmingly, two doors down.


Snack Pockets

Snack time is a welcome part of the day. The children are nourished, they get a little break, and we can use the time to be with them, too. But snack can take up a good chunk of time! Last year, I structured snack so that we washed our hands, got our milk from the cafeteria and walked back to our room to eat. That way, I could progress monitor with one child at a time or work on an intervention for a couple minutes with a kiddo while they ate. I used this shoe holder as a way for the kids to store their snacks (we have snack in the morning). They each have their own pocket and I can see clearly who needs cereal from me because they forgot or didn't bring a snack. It is hung on strong magnetic hooks. It works very well! For allergies, I keep that snack totally separate from the others. I like it because the line walks in, remains in a line, each student grabs his/her snack, and sits down. Smooth sailing!

Spring 2011-2012

Crafts done in the spring at our school are just as adorable as any holiday! I added my own to the list and it made for a bright hallway and classroom.
You'll notice paper robins with button eyes, clouds with rainbow streamers, green pipe-cleaner flowers springing up, and handprint umbrellas with rain drops.
The robins are a looped piece of brown construction paper, with a smaller loop for the head. Glue on a brown tail and wings, a red belly, and orange legs & a beak. We glued on buttons for eyes, but you could use googly eyes or draw them too.
The flowers are a long strip of construction paper with petal shapes. In each shape goes a letter of the child's name. Fold the paper around like a fan and staple. The children glued on the buttons and pipe-cleaners.
The clouds start out like an open clam. Glue on the streamers and then close the cloud on either side.

Dr. Seuss Mania 2011-2012

March is a super month for learners! I really enjoy Dr. Seuss and his day in the spring, so we joyfully took on some projects in his honor.
These collages were a lot of fun! We read the book and then like chefs, took on the artistry of "plating" the food. Green pom poms, orange circles, and green and white construction paper are all you need! And a little glue. :) You'll notice Sam-I-Am drawn there, I love to sketch and draw. One of my favorite ways to decorate is through characters from children's literature. I sketch with pencil, outline with marker, and color with crayons. I have as much fun as the Kindergartners!

Christmas 2011-2012

There are our stockings! They are hung by our Word Work (Daily 5) with care! I found these stockings for two for a dollar at a craft store. The last day before Christmas Break I put a pencil, eraser, and play dough in each for a holiday gift.
The holidays were certainly Merry and Bright! We had a lot of fun with the traditional crafts done by the Kindergarten teachers at our school.
This is a reindeer hand/fingerprint. So cute!
And below is the foot/hands reindeer and the name bulbs:
The bulbs are a bit tricky, so I had the children do them with a volunteer. Run off the bulb shapes on construction paper and have a volunteer cut them out. Then use squares of black to wrap and glue around the yarn for each bulb. I strung them together in one long line for display and then sent them home for keeping.
The peppermints are made from paper plates. I used a ruler to trace the guiding lines and then the children painted one side red and the other green (pattern with the white). Add a cotton ball with a drop of peppermint extract in between, staple, and wrap with cellophane.
I decorated my "locker" (I have one in the hallway as well for team-building purposes) with this picture. The kiddos loved it! "You aren't old Miss Smiff!" they said. But someday, I will be!


Thursday, August 16, 2012

Fall/Halloween 2011-2012

I love fall at school! Our school celebrates Halloween and all the kiddos get to wear their costumes on a special day before the holiday. We spend the month getting ready with poems and stories. I love it! This poem is traditional and widely used. I die-cut tiny pumpkins (5 for each child) and circles for the moon. I made a pattern on half a white sheet of paper so the kids cut out black rectangles (the negative space) and the result was a white fence. I put out glitter for the moons and printed poems. It was a fun craft!
Here is the poem:
"Five little pumpkins sitting on a gate,
The first one said, 'Oh my, it's getting late!'
The second one said, 'There are witches in the air.'
The third one said, 'But we don't care!'
The fourth one said, 'Let's run! Let's run!'
The fifth one said, 'Isn't Halloween fun?'
Then whoooooooooosh went the wind,
And OUT went the lights.
And five little pumpkins rolled out of sight."

Another project we did was sponge painting yellow and orange onto a candy corn shape. See it on the lockers:
I'm sure I'll do some of the same projects this year! The children had so much fun with the pumpkin poem. It remained a favorite throughout the year.

Star of the Week - 2011/12

Star-of-the-Week is a great way to get to know your students and to encourage them to get to know one another. I used this board at the kid's eye-level to display what they brought from home. The frames are laminated tagboard from a scrapbooking store. I used a gold glitter pen to add a little glitz to each one after they were laminated. Then I created a poster page with the shapes of each frame and instructions for what pictures they should use; i.e. "My Pet" or "My House." They could cut out magazine pictures, draw pictures, or use real pictures to fill each frame. I included a baggie with the poster and the instructions for a family member to help them cut each out. Then they brought the baggie in and I put them up for a week. I start with myself to connect with my Kindergartners. :) I should upload the poster PDF for download!

Hopes And Dreams/Rule Creation - 2011/12

There are just never enough bulletin boards, are there? This is my "Hopes and Dreams" board from last year, which was a big piece of paper and boarder masking-taped up to the wall. I considered it very negative symbolism when the whole thing would be on the ground in the morning and I'd have to add another 20 pieces of tape to the bag and re-stick it up before the kiddos arrived. However, now I see it as a symbol of what we teachers do daily. We remind everyone of why we're at school and keep our goals in sight. We uplift and inspire, and occasionally stick everything back up when it all comes crashing down! It's too bad that this photo wasn't a video - you'll notice the bulging corners of the "board" because the whole thing was about to slide off and bite the dust. I'm happy to say that I have a new bulletin board (a real one!) for our Hopes and Dreams this year!

"Hopes and Dreams" are a part of Responsive Classroom, by Origins from the Northeast Foundation for Children. I am trained in Responsive Classroom and believe in it's validity and ability to empower teachers and students. Here's a link to find out more: http://www.originsonline.org/responsive-classroom .

"Hopes and Dreams" are a part of the Rule Creation process:
1. Establishing why we come to school.
2. Listing our hopes and dreams.
3. Brainstorming a whole bunch of rules!
4. Sorting the rules into Place, Self, and Each Other.
5. Grouping them into positively stated, general rules (no more than 3-5).
6. You add a rule as the teacher.
7. Publishing and displaying the rules with class signatures.

There they are beneath the pumpkin! This is the list from last year. (I didn't get a picture until October? No time!) The beauty of student created rules is the ownership that comes with them. Students are more connected to the guidelines and understand their purpose more clearly. The signatures are great when it's time to point out that we agreed to follow the rules. (Rule number 2 actually came from the kiddos! Score!)

The Writing Center - 2011/12

I love a big open space where I can spread out and work. Most kids do too! Last year, I set up my writing center for Kindergartners underneath the word wall. I kept materials handy in baskets nearby, but avoided clutter by changing them out every now and then. I offered choices besides paper, with dry erase and doodle boards. The children often used the word wall and surrounding posters in a purposeful way when they worked on writing. The writing center was the place to write. :)